
Backup DNS settings in Windows Server 2012 R2
Backing up your Domain Name Services is quite simple using powershell:
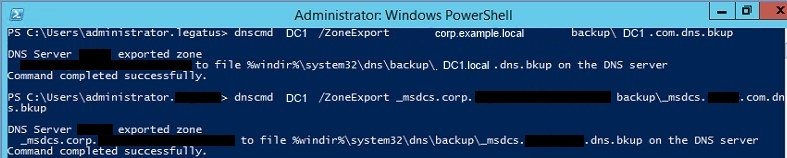
Using powershell run:
dnscmd ServerName /ZoneExport corp.DC1.local backup\ServerName.local.dns.bkup
dnscmd ServerName /ZoneExport _msdcs.corp.DC1.local backup\_msdcs.ServerName.local.dns.bkup
Where ServerName is replaced with your server’s hostname that is running DNS.
The output should look similar to the screenshot below:
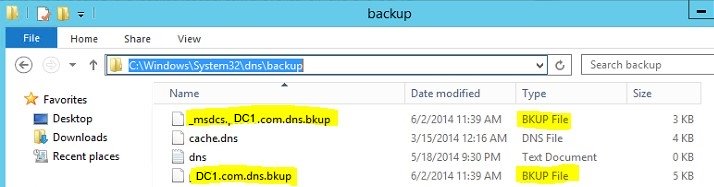
The output files should be located in c:\windows\system32\dns\backup
Once you have these backed up you could move them to a new server for example so you don’t have to re-create any manual DNS enteries or just store somewhere on the network for a backup. This concludes how to Backup DNS settings in Windows Server 2012 R2. Check out the next Tutorial on how to import the DNS settings you just backed up.
Pingback: Restore DNS settings in Windows Server 2012 R2